Overview
This guide covers How to Assign Roles to Staff in Chively using a consistent, support-friendly workflow.
Before you begin
- Confirm you can access the Chively Management Page or POS as needed.
- Make sure your account has permission to change these settings.
- Keep a test order, test payment, or test user available for validation.
Steps
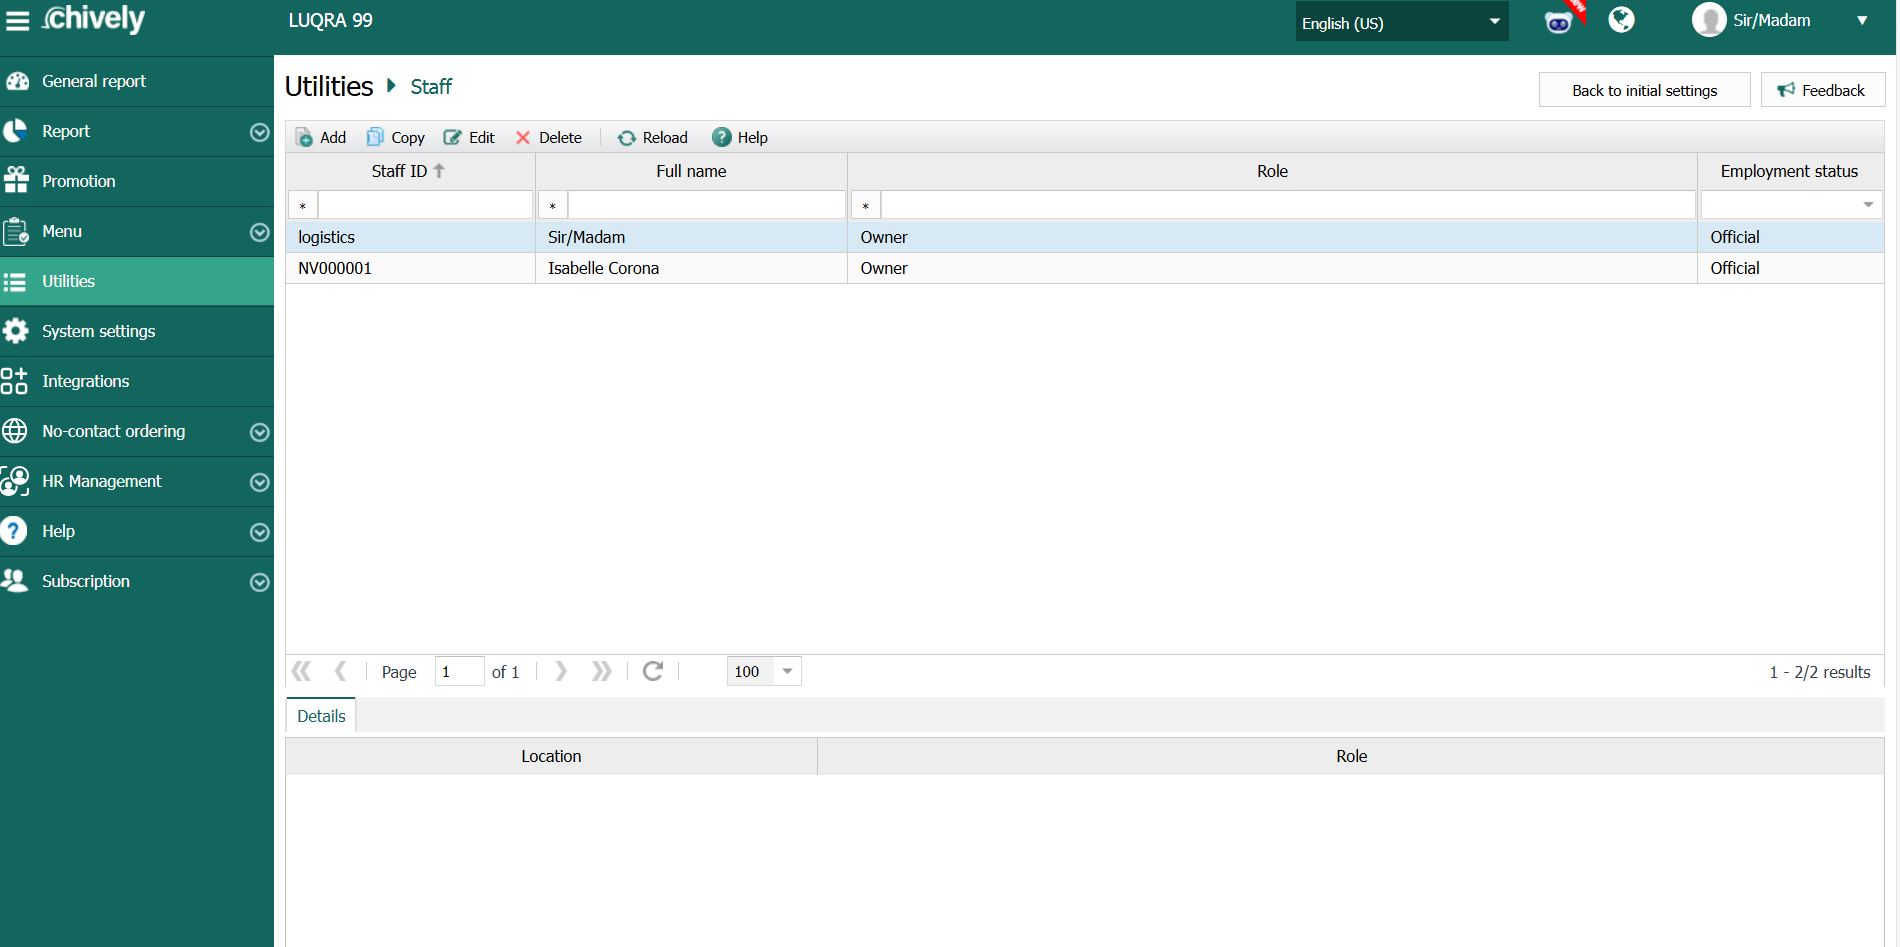
- Go to the System Settings\Role Management page.
- To view the list of employees in each role, simply select the role you want to view.
- To assign a role to an employee: Select the role in the Role Name column, click Select, and highlight the employee whose role you want to add. Then, click Select again.
- Select the role you want to customize permissions for and click Edit.
- For example: Remove the right to Open / Close a Shift on the Cashier role.
- You have now successfully added and edited roles and permissions in the Chively software!
Verification
- Confirm the change is visible in the expected Chively screen.
- Run a quick real-world test to ensure behavior is correct.
- If results are unexpected, double-check permissions and device/network status.
Need help?
For further support, reach out to your Chively sales agent.