Overview
This guide covers How to Track Employee Time in Chively using a consistent, support-friendly workflow.
Before you begin
- Confirm you can access the Chively Management Page or POS as needed.
- Make sure your account has permission to change these settings.
- Keep a test order, test payment, or test user available for validation.
Steps
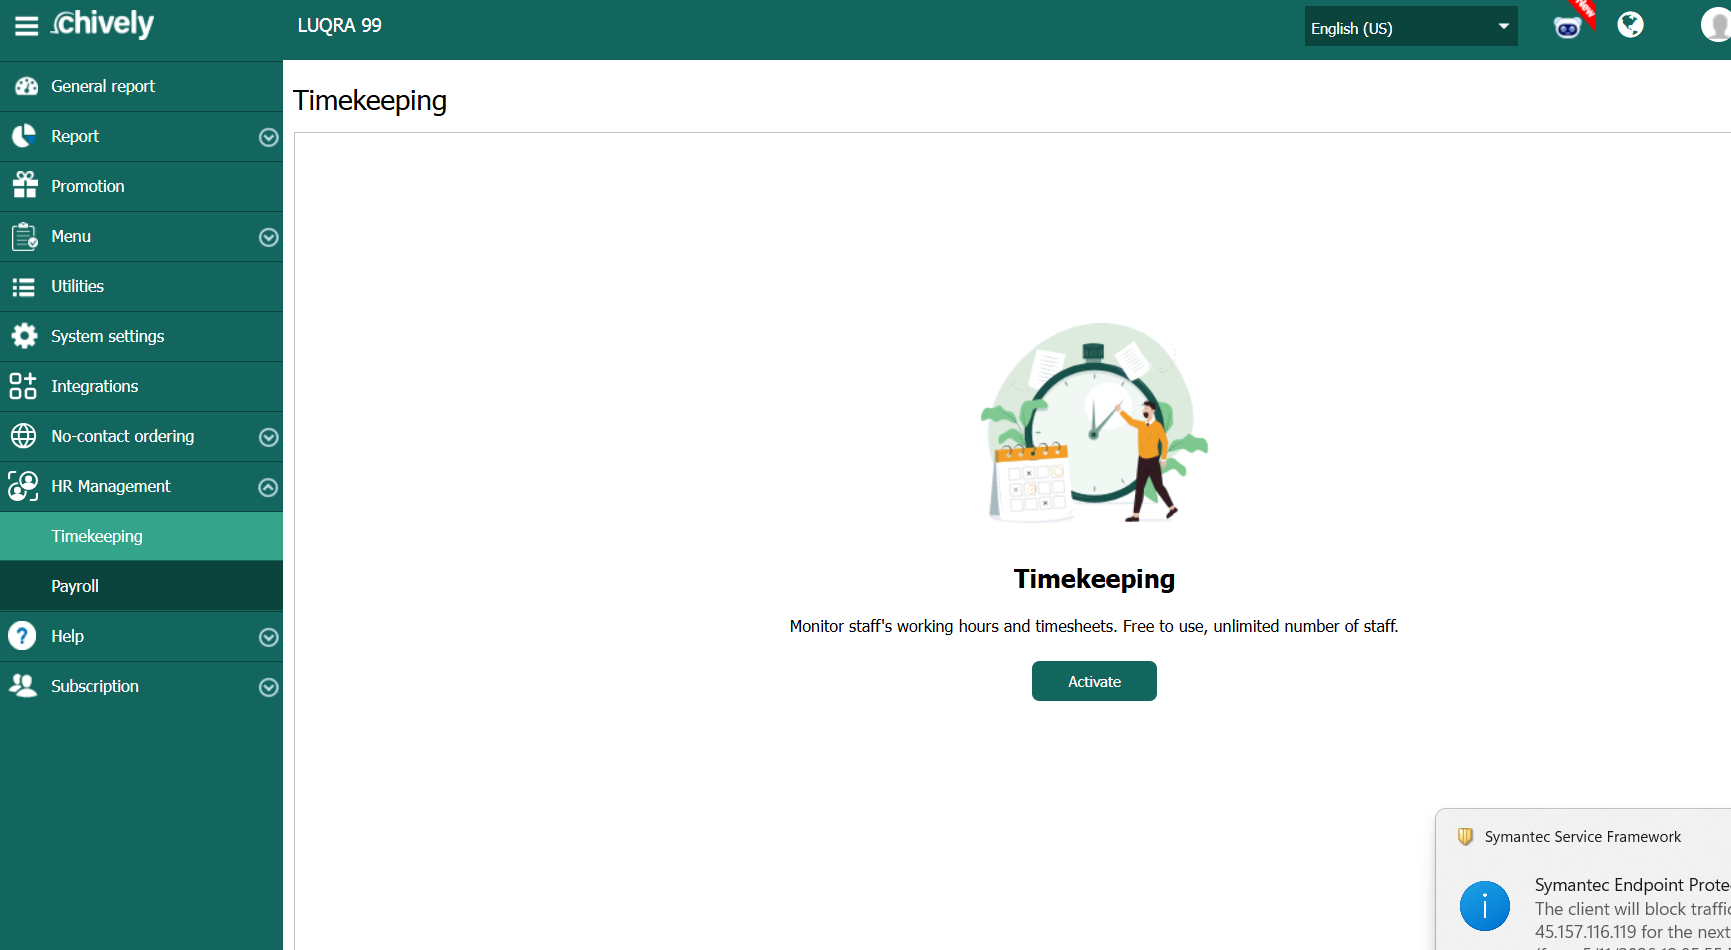
- On the management page, go to Timekeeping and set the feature to Active.
- Open the Settings tab and update rules as needed for your workflow.
- Select a date range and click Load data.
- Review total working hours and daily time entries for each employee.
- Keep the date range to a maximum of 31 days.
- Select an employee row and click Edit to correct discrepancies.
- Use Add row or Delete row to adjust clock-in/clock-out entries.
- Enter a reason for each manual time edit.
- If Remind employees to clock in is enabled, employees must confirm the Clock in prompt when they start a shift.
Verification
- Confirm the change is visible in the expected Chively screen.
- Run a quick real-world test to ensure behavior is correct.
- If results are unexpected, double-check permissions and device/network status.
Need help?
For further support, reach out to your Chively sales agent.