Overview
This guide covers How to Close a Shift on the POS in Chively using a consistent, support-friendly workflow.
Before you begin
- Confirm you can access the Chively Management Page or POS as needed.
- Make sure your account has permission to change these settings.
- Keep a test order, test payment, or test user available for validation.
Steps
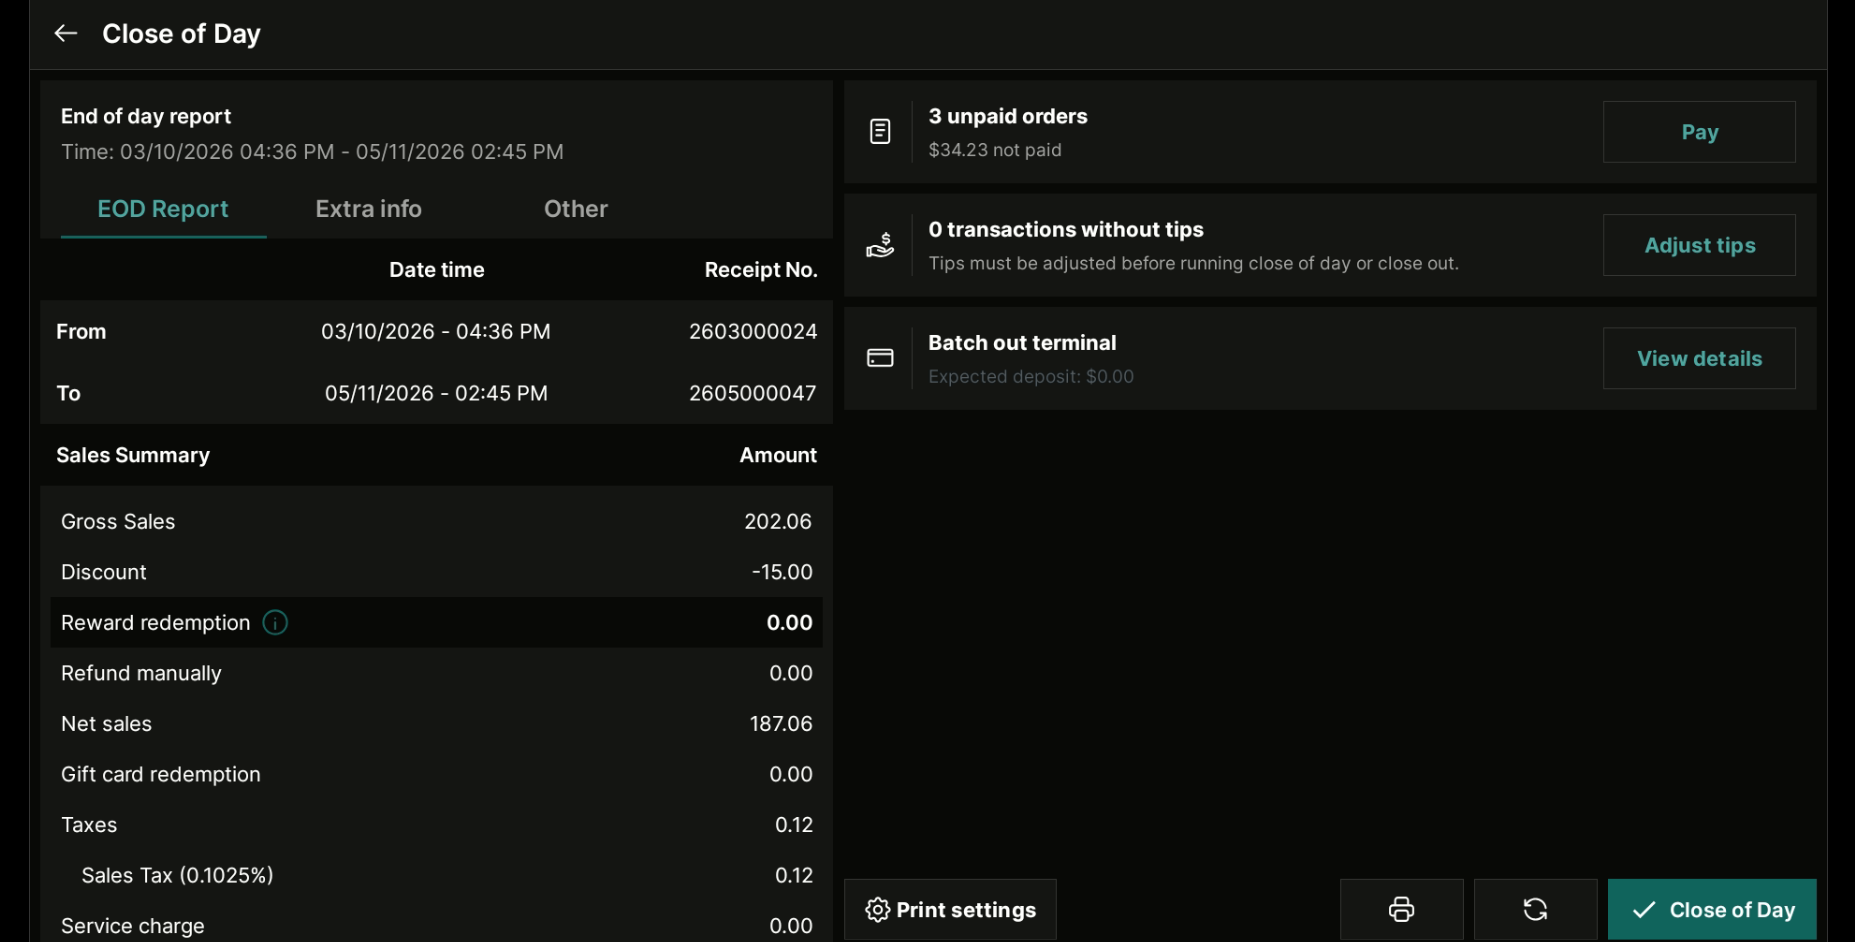
- On POS, click Close of day.
- Go to the EOD Report tab to check reporting time, invoice numbers, daily sales overview and collected amount.
- Note: In Batch out terminal, if there is a difference in the amount between the pax machine and the POS machine, click View details to examine the situation.
- To print the report, click Print settings and select the information you want to print. Then, click Save to save the settings.
- Then click Close of day, and select Yes.
- Select Print report to print or Finish.
- On the management page, go to System settings/General settings.
- In the Purchase/Sale tab, select Auto-close of day on POSNote, the automatic closing time should be before the pax closing time.
- You have now successfully closed a shift in Chively!
Verification
- Confirm the change is visible in the expected Chively screen.
- Run a quick real-world test to ensure behavior is correct.
- If results are unexpected, double-check permissions and device/network status.
Need help?
For further support, reach out to your Chively sales agent.