Overview
This guide covers Issuing and Using Gift Cards in Chively using a consistent, support-friendly workflow.
Before you begin
- Confirm you can access the Chively Management Page or POS as needed.
- Make sure your account has permission to change these settings.
- Keep a test order, test payment, or test user available for validation.
Steps
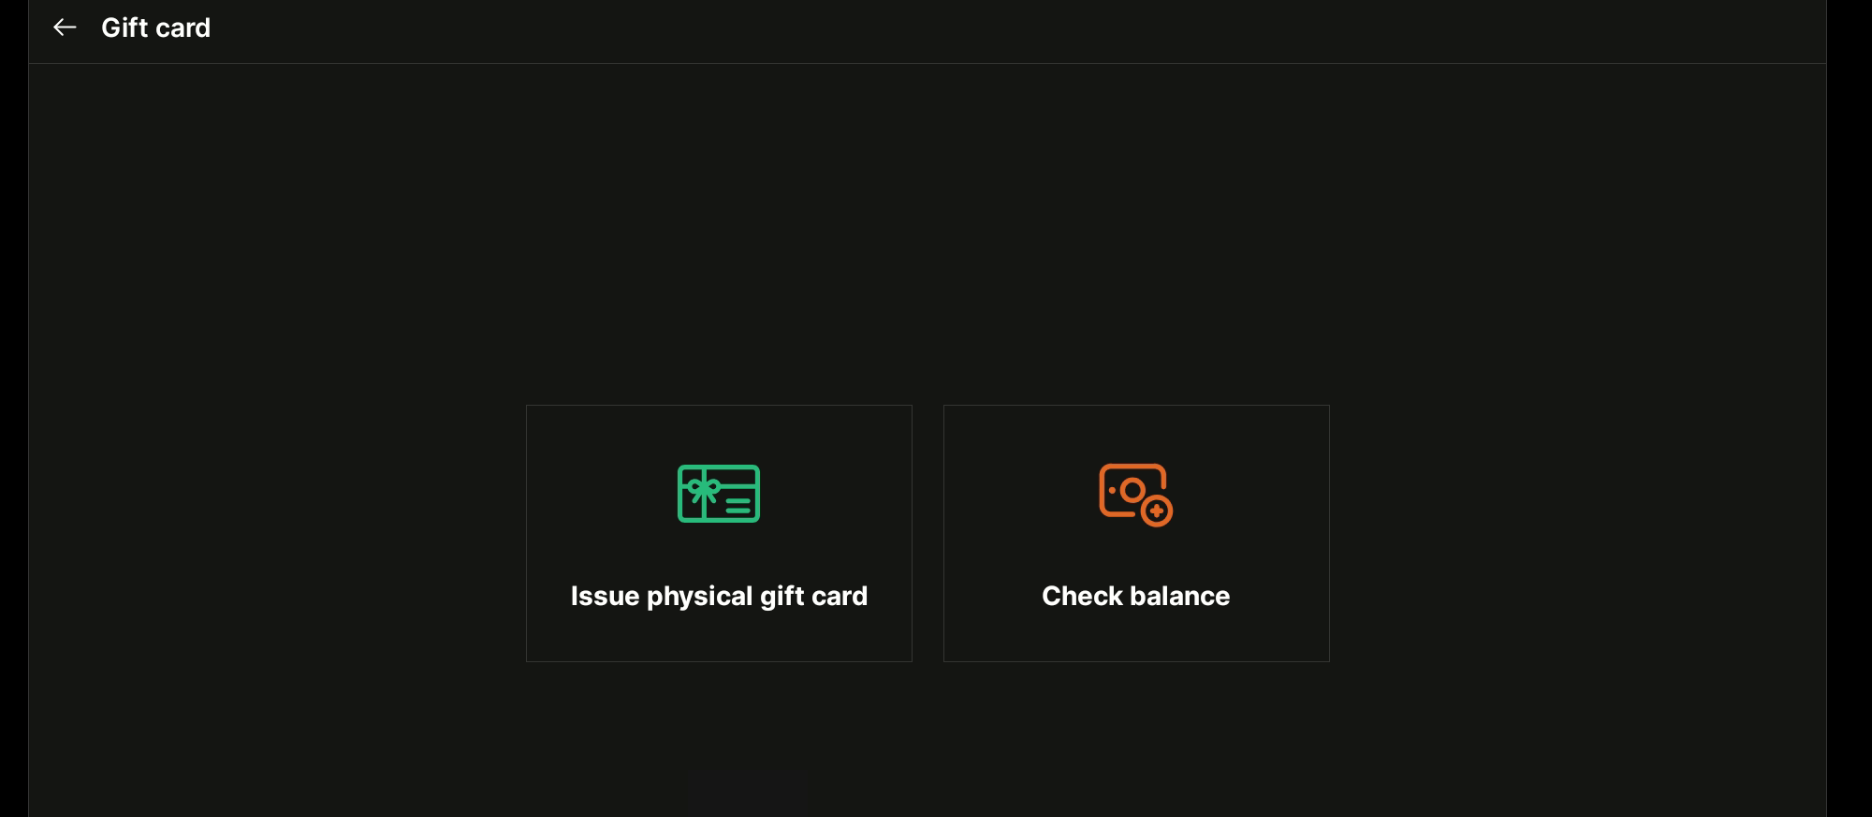
- To issue and use gift cards, please follow these steps:1. Installing the Gift Card ApplicationGo to Applications and click Install on the e-Gift Card App.
- Click Install on the pop-up prompt.
- Turn on the Publish e-Gift card option. Copy the link to share it with the guests or download QR Code to place it at the restaurant.
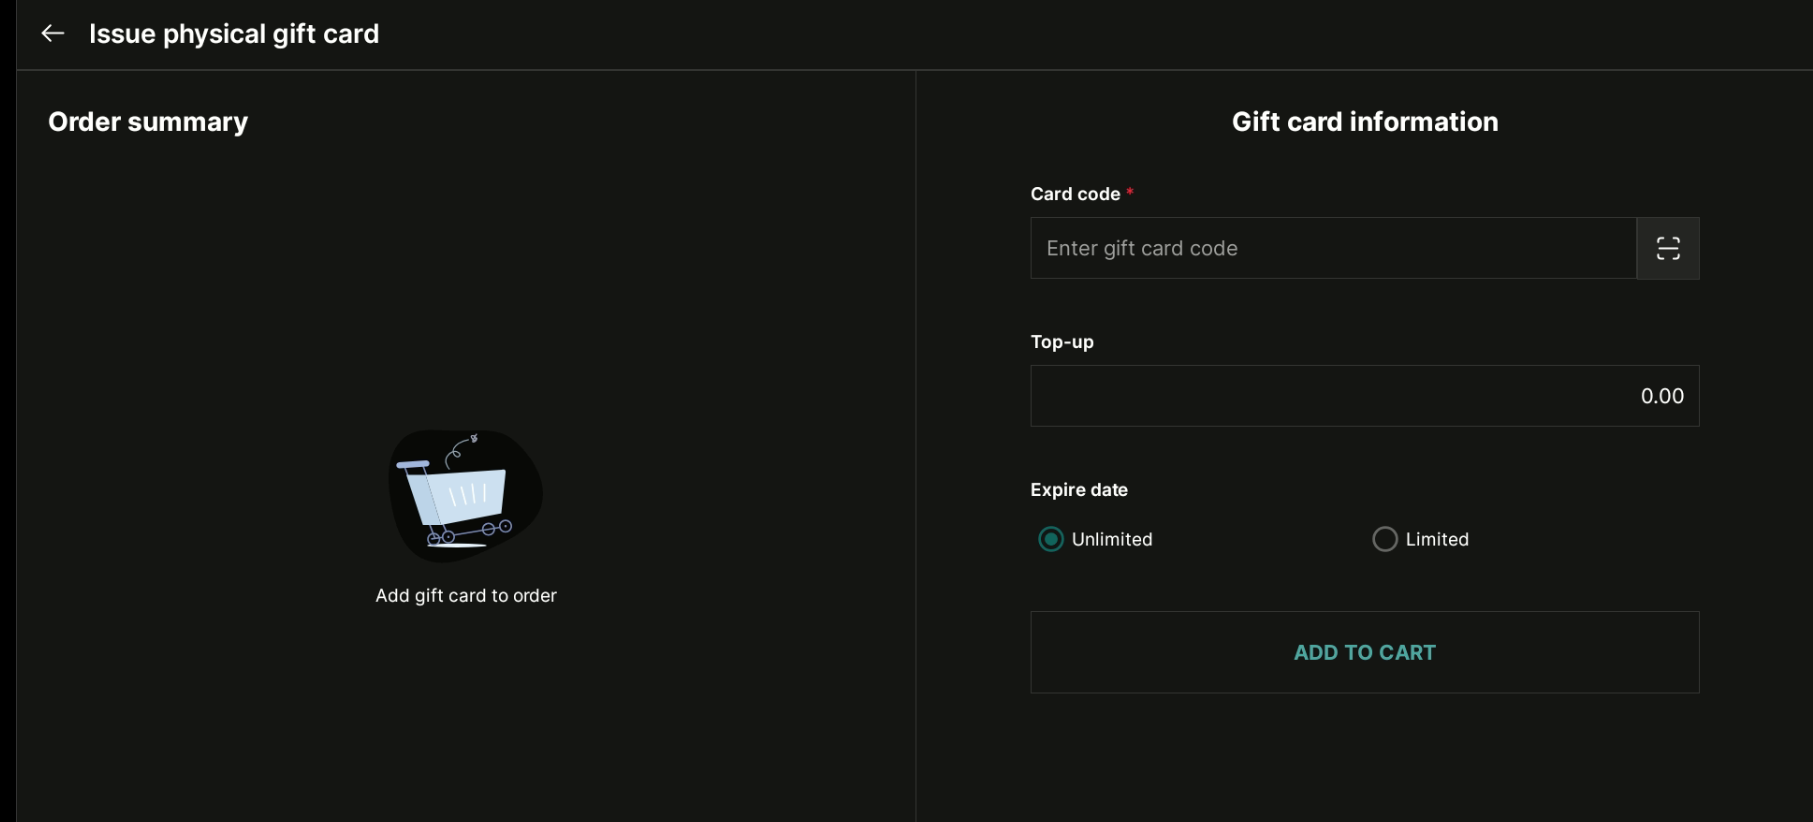
- Enter the minimum amount you want to be loaded onto a single gift card and then click Save.
- If your restaurant wants to set expiration dates and PIN codes for gift cards, click this icon and then select those options. Then, click Save.
- Select the template you want to use, or you can upload your own image by clicking Add Image. Then, click Save.
- On the Promotions tab, click Add Promotion.
- Fill in the promotion information that you want to add. Then, click Save.
- Select one of the suggested values or click Custom to enter a unique value for the customer to buy.
- Enter the recipient’s information and the sender’s information, then click Continue.
- Click Continue to payment.
Verification
- Confirm the change is visible in the expected Chively screen.
- Run a quick real-world test to ensure behavior is correct.
- If results are unexpected, double-check permissions and device/network status.
Need help?
For further support, reach out to your Chively sales agent.