Overview
This guide covers Taking Orders by Seat in Chively using a consistent, support-friendly workflow.
Before you begin
- Confirm you can access the Chively Management Page or POS as needed.
- Make sure your account has permission to change these settings.
- Keep a test order, test payment, or test user available for validation.
Steps
- On the management page, go to System settings/Locations settings. On the Sales tab, click Edit and check By Seat as the default order-taking method. Then, click Save.
- Go to System settings/Layout. Click Edit and select a specific table.
- To set up all tables with Quick Sections, click Quick settings.
- Fill in the required information and select a seat naming pattern, then click OK.
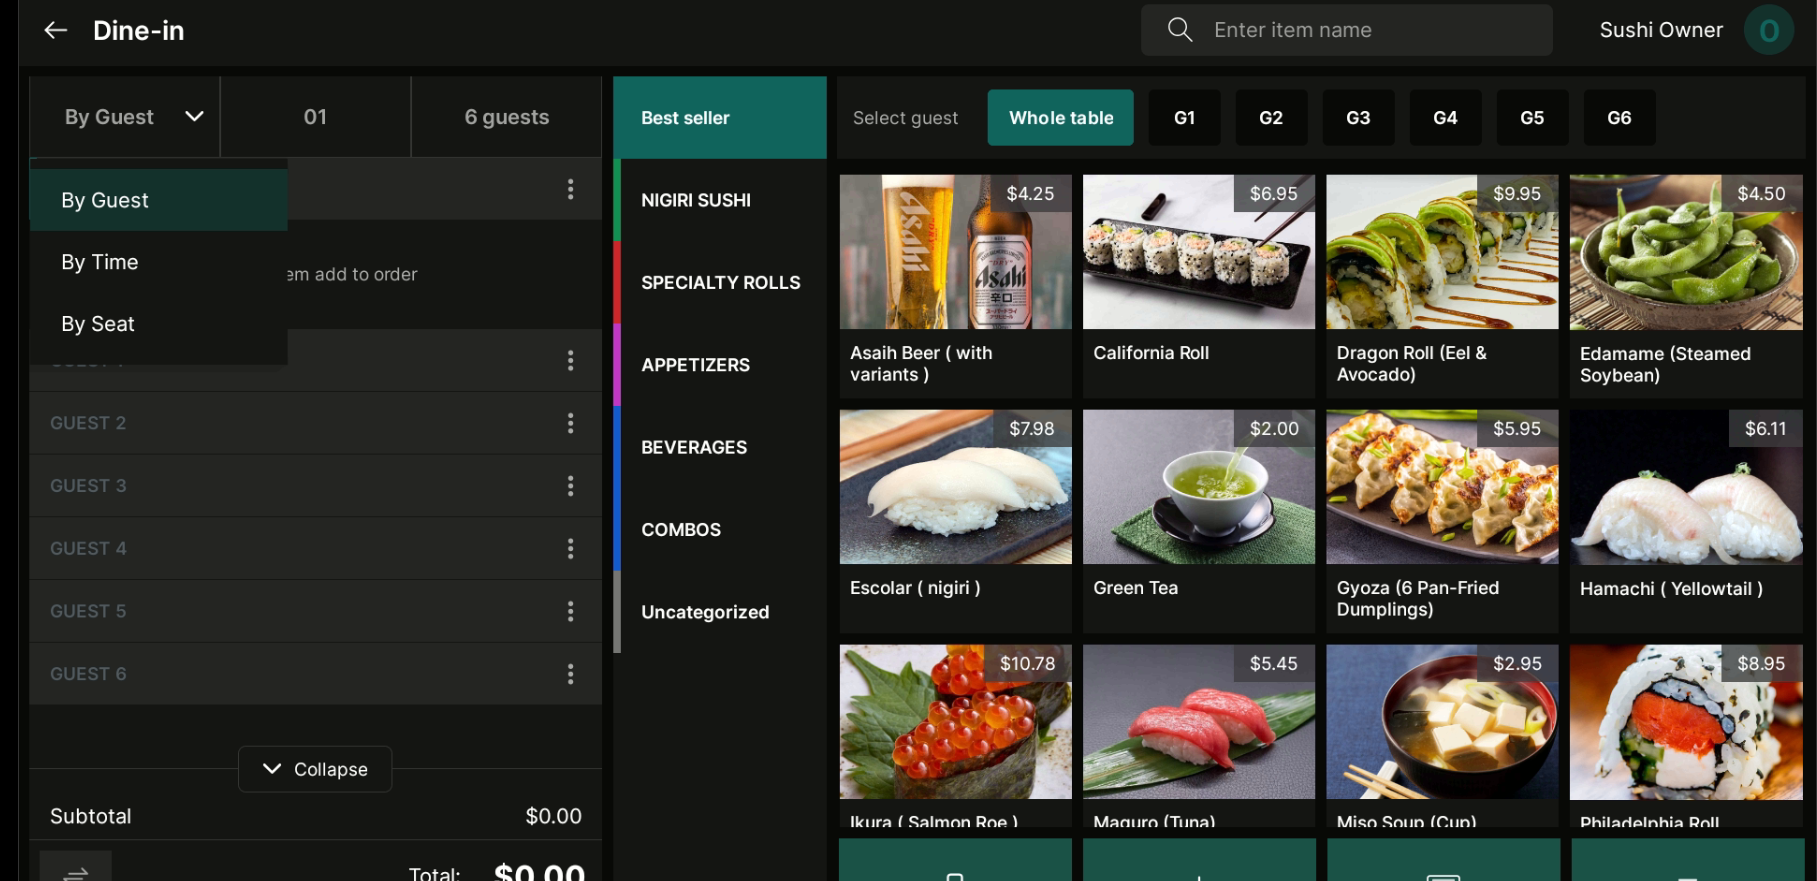
- When checking out, click Split by seat, then select the customer and their seat and click Pay.
Verification
- Confirm the change is visible in the expected Chively screen.
- Run a quick real-world test to ensure behavior is correct.
- If results are unexpected, double-check permissions and device/network status.
Need help?
For further support, reach out to your Chively sales agent.